Overview
Time to take care of that UI and bring our track details page to life.
In this lesson, we will:
- Build out the
trackpage - Bring our new
GET_TRACKoperation into the frontend - Call the
useQueryhook, passing atrackIdvariable
Accessing the track page
Our app's already set up with the routing logic to display a page for a specific track. Let's check it out.
Run npm start.
This should open up a page in the browser to http://127.0.0.1:3000/, or localhost:3000, to show the homepage.
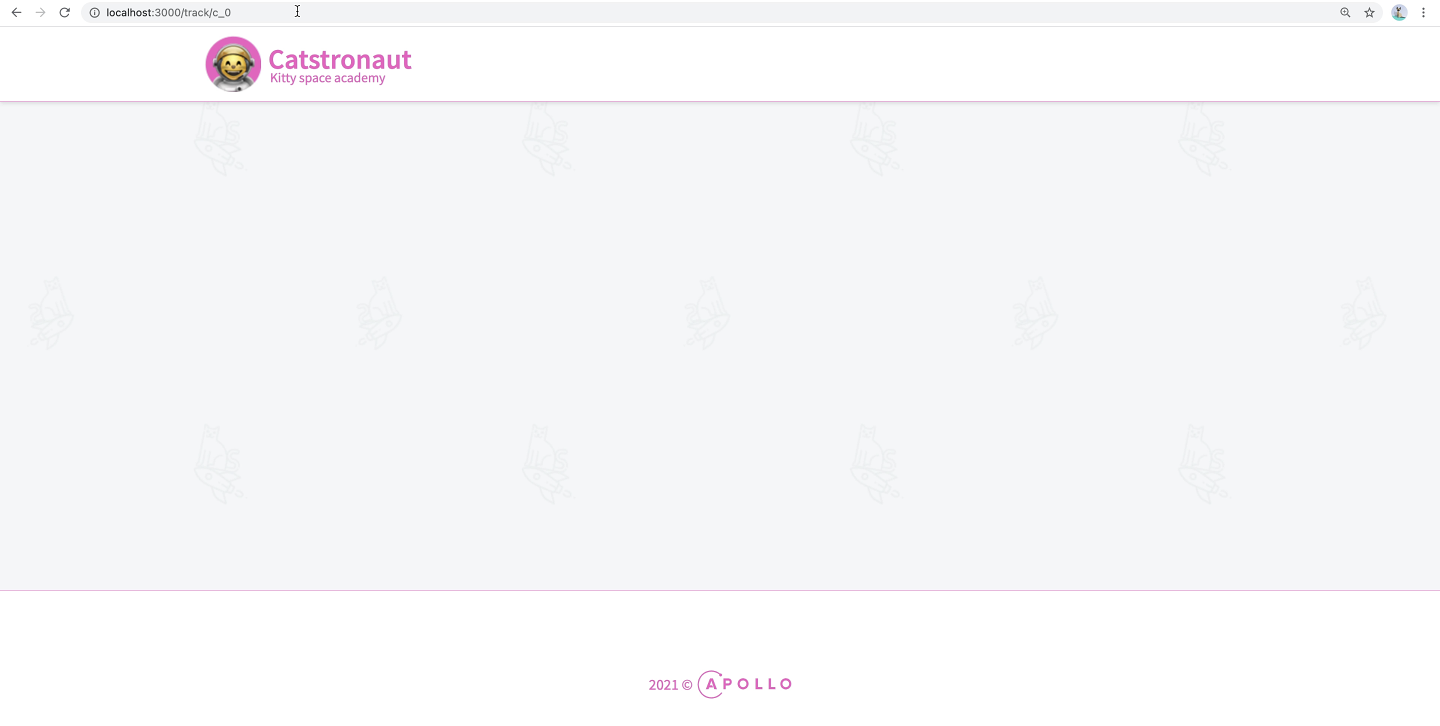
Then, let's navigate to: localhost:3000/track/c_0. We should still see an empty Catstronauts layout, but this tells us the route is working. We'll start to fill this in with the data we retrieve from the query.

📄 Building out the track page
Let's give this track page something to display!
Jump into the src/pages folder, and open up track.tsx.
This file exports a basic component called Track, but there's not much going on here yet.
import React from "react";import { Layout, QueryResult } from "../components";const Track = () => {return <Layout></Layout>;};export default Track;
Taking care of imports
Let's bring in some of the packages we'll use to build out this page.
First, we'll import gql from our __generated__ folder, and useQuery from @apollo/client. Then, to determine which track we'll display details for, we need to get access to the trackId passed in the route. We'll use useParams from react-router-dom for this.
import { gql } from "../__generated__";import { useQuery } from "@apollo/client";import { useParams } from "react-router-dom";
Now let's jump down to the Track component. Just inside the curly braces, we'll destructure trackId from the object returned by the useParams function. If there's no trackId passed, we'll set it to be an empty string.
const Track = () => {const { trackId = "" } = useParams();return <Layout></Layout>;};
💻 Setting up our client's query
Time to build our track query. We'll call it GET_TRACK all caps, and use the
gql function from our __generated__ folder.
export const GET_TRACK = gql(`# our query goes here`);
And now we could either build our query by hand, or, because we already did the job in Sandbox, let's head back there, copy the query in our Operation panel and paste it in our GET_TRACK variable just between the backticks in the gql tag.
query GetTrack($trackId: ID!) {track(id: $trackId) {idtitleauthor {idnamephoto}thumbnaillengthmodulesCountdescriptionnumberOfViewsmodules {idtitlelengthcontentvideoUrl}}}
Rerunning codegen
We've written a new GraphQL operation for the frontend; in order to keep our TypeScript code accurate, we need to run the codegen command in our root folder again! This will reassess the operations being used in our frontend code, and automatically generate the types needed to keep our code consistent and bug-free. Anytime we update our GraphQL operations, or add or delete an operation, we should make sure that we regenerate our types!
npm run generate
We should see some happy output that our codegen ran successfully, and we're good to proceed!
🪝 Setting up the useQuery hook
As you'll remember from an earlier lesson, we use Apollo Client's useQuery hook to make a call from our client to the GraphQL server.
We'll be using this hook inside the Track component. Before the return line, we can declare our usual loading, error and data object that we'll receive from our useQuery hook.
const { loading, error, data } = useQuery();
We pass the GET_TRACK query as the hook's first argument, and now the big difference from our previous query is the addition of a second argument: an options object.
This object will hold a variables key, note variables, with an "S" because it can have multiple variables. This variables key takes an object as a value, and here is where we'll pass our trackId.
const { loading, error, data } = useQuery(GET_TRACK, {variables: { trackId },});
The QueryResult component
Similar to the homepage, we'll use the pre-built QueryResult component to handle any errors and display the loading state properly.
Add the QueryResult component within the Layout component's opening and closing tags:
<Layout><QueryResult error={error} loading={loading} data={data}>{/* this is where our component displaying the data will go */}</QueryResult></Layout>
When the query is finished loading and there are no errors, the QueryResult component will render its children, passing them the data they need.
The TrackDetail component
We have conveniently provided a TrackDetail component, ready to use to display that data. It's located in the src/components folder, so feel free to take a minute to look at it and see how the UI elements are organized if you're curious.
Let's import the TrackDetail component at the top of our track.tsx file.
import TrackDetail from "../components/track-detail";
Now inside QueryResult, we can render the TrackDetail component and set the track prop to data?.track, using optional chaining here since the data won't be available until the query is finished loading.
<TrackDetail track={data?.track} />
And we're good for the track page! Here's what the track.tsx file should look like after all our changes:
import React from "react";import { gql } from "../__generated__";import { useQuery } from "@apollo/client";import { Layout, QueryResult } from "../components";import { useParams } from "react-router-dom";import TrackDetail from "../components/track-detail";export const GET_TRACK = gql(`query GetTrack($trackId: ID!) {track(id: $trackId) {idtitleauthor {idnamephoto}thumbnaillengthmodulesCountnumberOfViewsmodules {idtitlelength}description}}`);const Track = () => {const { trackId = "" } = useParams();const { loading, error, data } = useQuery(GET_TRACK, {variables: { trackId },});return (<Layout><QueryResult error={error} loading={loading} data={data}><TrackDetail track={data?.track} /></QueryResult></Layout>);};export default Track;
💻 Browser check!
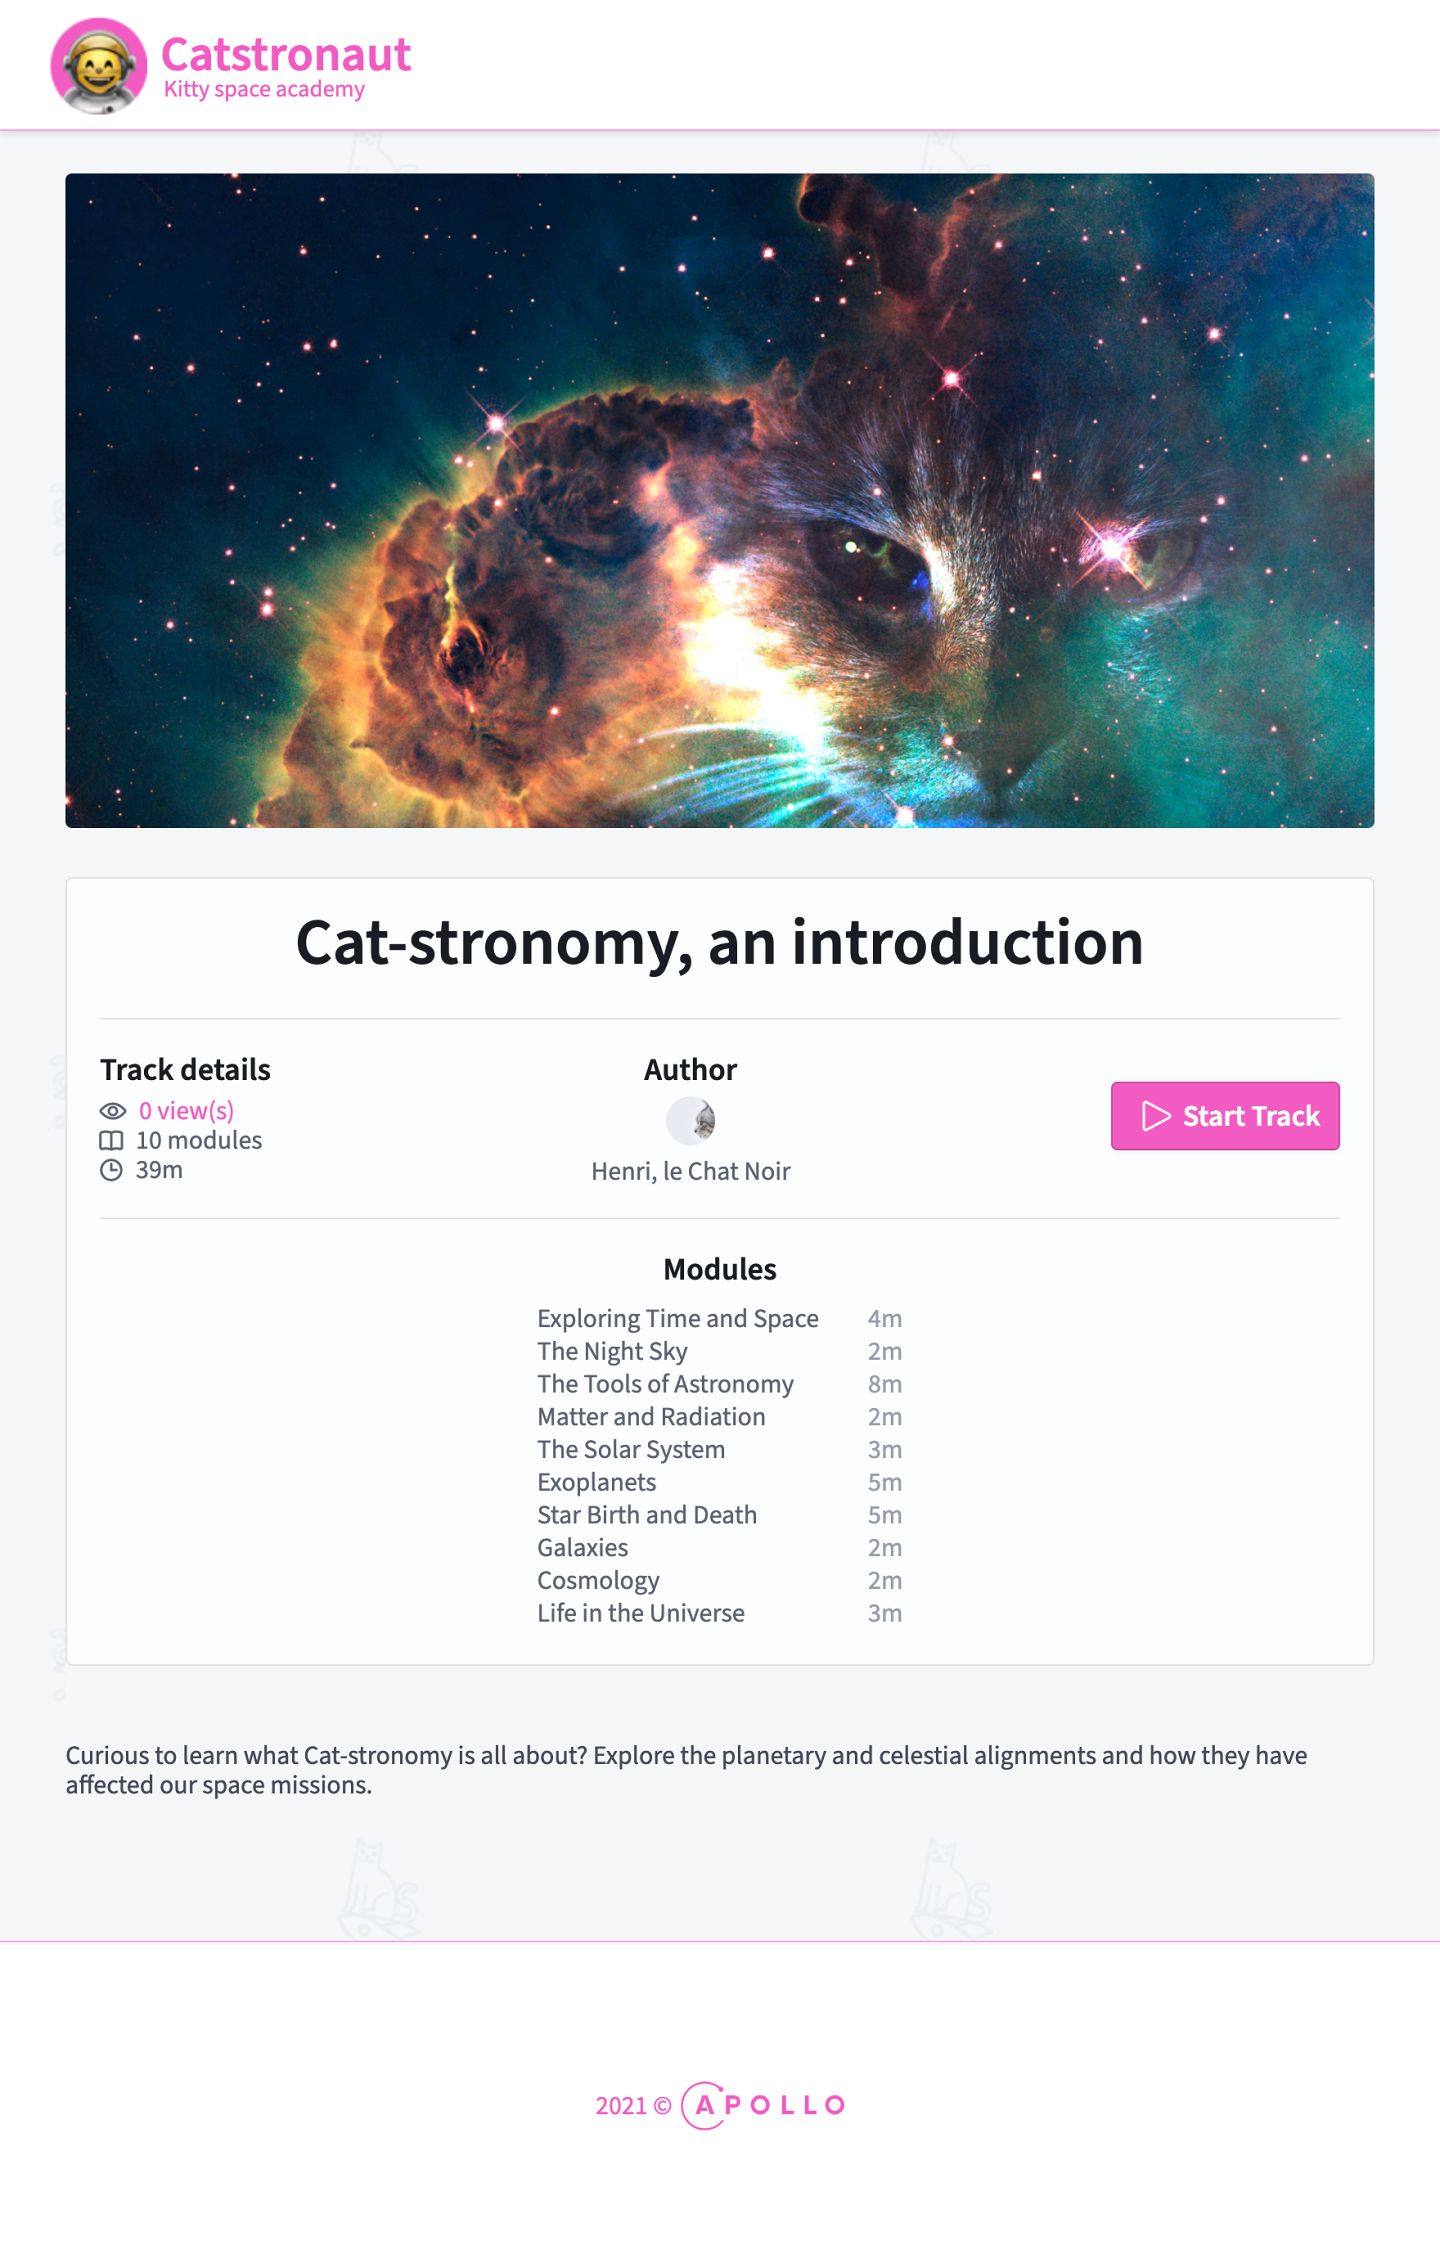
If we navigate back to the browser to localhost:3000/track/c_0, we should see the track page with all its details showing up! We see the nice large thumbnail of our space kitties, the title, track details, author, module details, and description below! If we change the URL to show different track IDs, such as c_1 or c_2, the page updates with the correct data.
Great, we're on the right track! 🥁

Let's head back to the homepage at localhost:3000.
We still have our homepage with our tracks card grid, so we didn't break anything there. Now if we click a card, we go to that track's page.
Awesome! We can go back to the homepage, click on a few other tracks and see that their data is loading properly as well.
😲 Behind the scenes caching
Now you might notice that if we click on a track we already clicked on before, the page pops up super fast! Compared to clicking on a track that we've never clicked on before, we can see the loading icon spinning before we see any detail on the page.
This fast-loading behavior is thanks to Apollo Client!
The first time we send a query to the GraphQL server, Apollo Client stores the results in the cache. The next time we try to send that same query (for example, navigating to the same page again), it will load the results from the cache, instead of sending unnecessary calls across the network.
Pretty handy! Apollo Client takes care of this caching behavior for us with the InMemoryCache we set up in an earlier lesson.
Practice
Drag items from this box to the blanks above
useStateuseQueryuseApolloClientgraphqlgql
Use the useQuery hook to send the GET_SPACECAT query to the server. It takes a spaceCatId as a variable. Destructure the loading, error and data properties from the return object of the hook.
useQuery hookuseQuery hook, inside an options object.Drag items from this box to the blanks above
resultsfirst
argumentsdataloadingisCompletevariables
second
error
Key takeaways
- The
useQueryhook takes an optional second argument, anoptionsobject where we can define an object ofvariables. - The Apollo Client stores query results in its cache, which allows for faster content loading.
Up next
Our app is set as far as querying for data goes, but what about changing data? To bring some interactivity to our application, we'll dive into our final topic for this course: GraphQL mutations.
Share your questions and comments about this lesson
This course is currently in
You'll need a GitHub account to post below. Don't have one? Post in our Odyssey forum instead.