👋 Welcome to the first part of our Lift-off series!
Here we begin our journey building a full-stack GraphQL example application called Catstronauts, a learning platform for adventurous cats who want to explore the universe! 😺 🚀
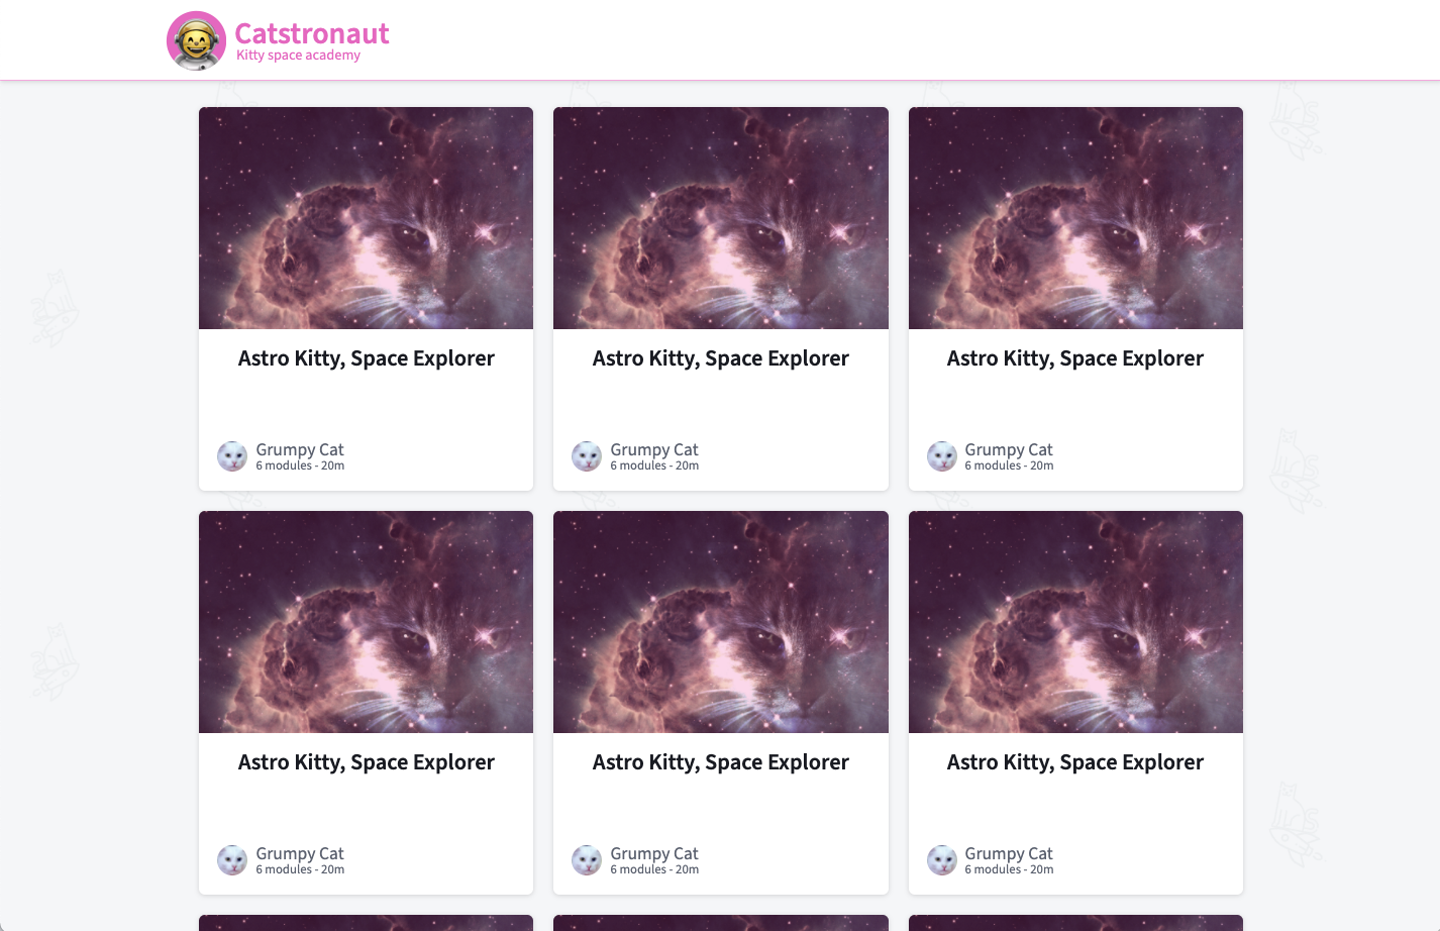
The first feature we'll build for the app will fetch a (mocked) list of learning tracks from a GraphQL API and display them in a card grid on our homepage.
Here's how it'll look when we're finished:

To build this feature, we'll use a "schema-first" design. That means we'll implement the feature based on exactly which data our client application needs. Schema-first design typically involves three major steps:
- Defining the schema: We identify which data our feature requires, and then we structure our schema to provide that data as intuitively as possible.
- Backend implementation: We build out our GraphQL API using Apollo Server and fetch the required data from whichever data sources contain it. In this first course, we will be using mocked data. In a following course, we'll connect our app to a live REST data source.
- Frontend implementation: Our client consumes data from our GraphQL API to render its views.
One of the benefits of schema-first design is that it reduces total development time by allowing frontend and backend teams to work in parallel. The frontend team can start working with mocked data as soon as the schema is defined, while the backend team develops the API based on that same schema. This isn't the only way to design a GraphQL API, but we believe it's an efficient one, so we'll use it throughout this course.
Ignition sequence...
Prerequisites
Our app will use Node.js on the backend and React on the frontend.
Concepts and keywords like import, map, async, jsx, and React Hooks should all be familiar concepts before you start up.
Clone the repository
In the directory of your choice with your preferred terminal, clone the app's starter repository:
git clone -b v1 https://github.com/apollographql/odyssey-lift-off-part1
Note: The git clone above command might look a bit different than what you're used to. This course uses v1 of the starter code repo. Click here to access the most up-to-date version of this course.
Project structure
We'll build a full-stack app that is composed of two parts:
- The backend app in the
server/directory - The frontend app located in the
client/directory
You'll also find a final/ folder that contains the final state of the project once you've completed the course. Feel free to use it as a guide!
Both apps have bare-minimum package dependencies. Here's the file structure:
📦 odyssey-lift-off-part1┣ 📂 client┃ ┣ 📂 public┃ ┣ 📂 src┃ ┣ 📄 README.md┃ ┣ 📄 package.json┣ 📂 server┃ ┣ 📂 src┃ ┃ ┣ 📄 index.js┃ ┣ 📄 README.md┃ ┣ 📄 package.json┣ 📂 final┃ ┣ 📂 client┃ ┣ 📂 server┗ 📄 README.md
Now, open the repository in your favorite IDE. We're using Visual Studio Code in our examples.
Note: The examples in this course use npm, but you're welcome to use yarn if you prefer.
Let's start with the server app.
In a terminal window, navigate to the repo's server/ directory and run the following to install dependencies and run the app:
npm install && npm start
If all goes well, you'll see your installation complete and a message that nodemon is waiting for changes to your src/index.js file. There's nothing else to do here, because we don't have any code for nodemon to run just yet.
Next, the client app.
In a terminal window, navigate to the repo's client/ directory and run the following to install dependencies and start the app:
npm install && npm start
The console should show a bunch of output and a link to the running app at localhost:3000. You can navigate there and see that not much is rendered right now.
We're all set. Let's start building our full-stack Catstronauts app!
Share your questions and comments about this lesson
Your feedback helps us improve! If you're stuck or confused, let us know and we'll help you out. All comments are public and must follow the Apollo Code of Conduct. Note that comments that have been resolved or addressed may be removed.
You'll need a GitHub account to post below. Don't have one? Post in our Odyssey forum instead.