Overview
Ready to connect listings and reviews? First, let's make sure we're set up for local development.
In this lesson, we will:
- Review the supergraph development kit GraphOS provides
- Use
rover devto do local development with our supergraph
From development to production
Even though our router and both subgraphs are running locally, we're emulating the same exchange that would occur when we host everything in a live, traffic-ready environment.
As with developing any application, we need a workflow that allows us to make changes locally, test them out, and feel confident that we've taken care of any problems before pushing our changes to production. (Or at least, our version of production, in tutorial-land!)
But short of rolling new changes directly into our running, production supergraph, how do we actually test that our API will keep functioning?
The GraphOS supergraph development kit
Apollo GraphOS provides a supergraph development kit that helps developers build and play with subgraphs within a supergraph architecture quickly and easily.
And—as you might have guessed—we've already been using parts of the GraphOS supergraph development kit!
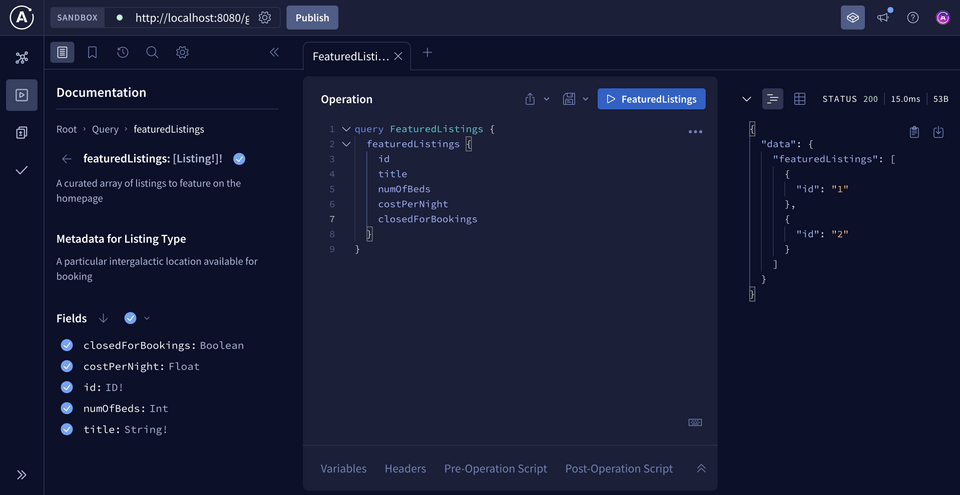
Sandbox is one such tool, a special mode of GraphOS Studio that provides us with Explorer (the GraphQL IDE we've been using to build and run queries against our locally-running subgraph), a schema reference, schema checks, and diffs.

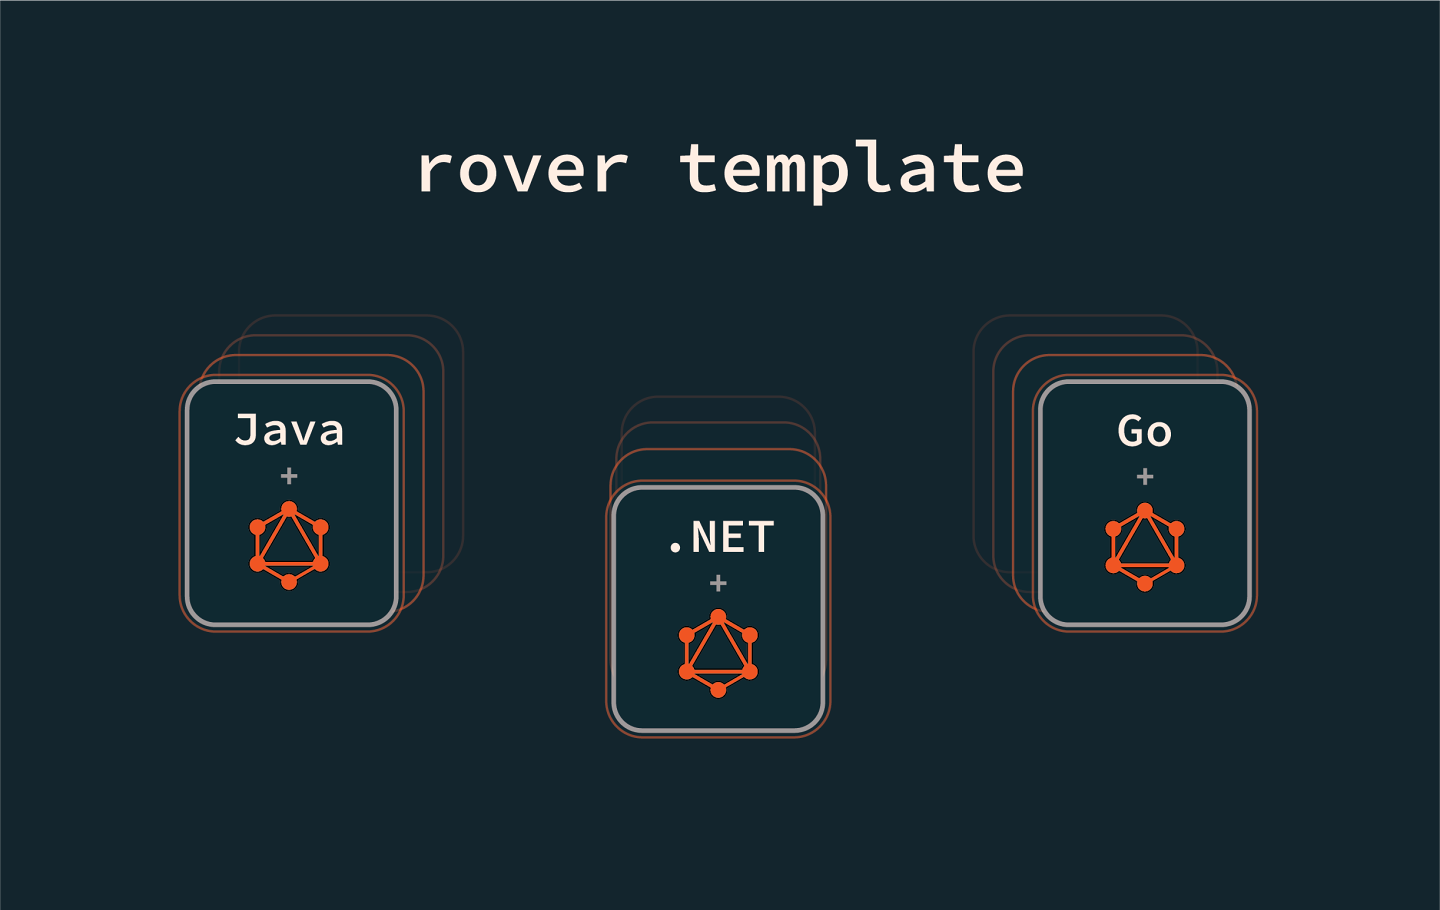
The second tool in our kit is rover template—it's a collection of templates that can be used to quickly bootstrap a new project using a language or framework of your choice. We'll see an example of subgraphs that have been spun up this way later in this series, but because DGS is federation-compatible out of the box, it's a quick setup on its own!

Note: Curious about other templates for different languages bootstrapping a new subgraph? Check out rover template in the Apollo documentation.
The last piece of our supergraph development kit is rover dev.
rover dev for local development
So far, we've seen data from both subgraphs come together by running a local router. Let's envision now that our router—and both subgraphs—are running somewhere live within our cloud infrastructure.
The time has come to make some changes. We want to make some local tweaks in our subgraphs, and have real-time validation as we code that our supergraph can still compose when those changes are merged.
A special command in the Rover CLI takes care of this scenario exactly. Let's see how rover dev fits into our graph development workflow.
Using rover dev
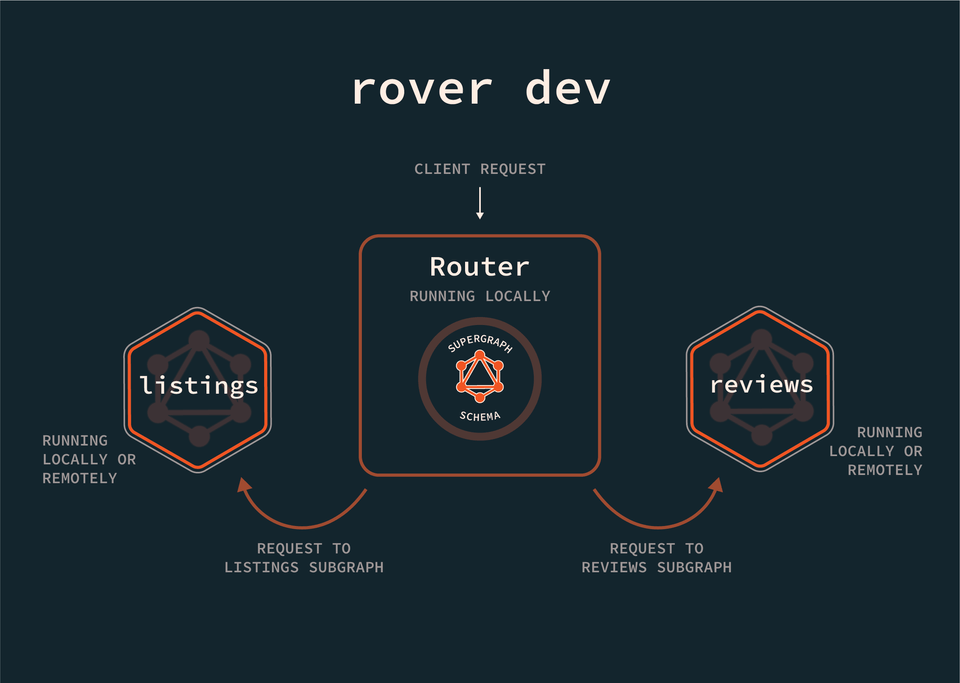
rover dev lets us start a local router—right on your computer!—that can query across one or more subgraphs. Each subgraph can be run locally or remotely. It's a supergraph in our local development environment! This lets us implement and test changes before we publish them to GraphOS.

Now you might be thinking: didn't we already run a router locally? In Lesson 4: Route configuration & insights, we downloaded a router and ran it locally.
The key difference? That router was connected to our supergraph schema registry on GraphOS, whereas the router we're about to run with rover dev will connect to our local subgraph changes—even when those changes haven't been published to the registry! This lets us play around with new features and schema updates; we can enjoy the safety of our development environment, while simulating how our changes will work when composed with the router and other subgraphs.
To get started, we'll need both the listings and reviews subgraphs running. If you haven't already, start them locally by pressing the play button (if using IntelliJ) or by running the following command for each:
./gradlew bootRun
The config file
The easiest way to start a rover dev session with multiple subgraphs is to use a YAML file listing the details for each subgraph.
Create a new file within the router directory called supergraph-config.yaml and paste the contents below:
federation_version: =2.7.0subgraphs:listings:routing_url: http://localhost:8080/graphqlschema:file: ./listings/src/main/resources/schema/schema.graphqlsreviews:routing_url: http://localhost:8090/graphqlschema:file: ./reviews/src/main/resources/schema/schema.graphqls
The first line defines the version of Federation we're using.
Under subgraphs, we list the name of each subgraph in our supergraph. Both listings and reviews are running locally, and because we'll run this command from the root of our dgs-federation directory, we've specified the relative path to each subgraph's schema.graphqls file. We've also provided the routing URL where each subgraph is running.
We're ready to start up rover dev!
Running rover dev
Open up a new terminal in the root of the dgs-federation project directory. Let's run rover dev and pass in the path to the config file with the --supergraph-config flag.
rover dev --supergraph-config ./router/supergraph-config.yaml
Note: Because the supergraph-config.yaml file is located in our router directory, we'll pass the path from the root of our project repository.
After running it, we'll get the following output:
⚠️ Do not run this command in production! ⚠️ It is intended for local development.🛫 starting a session with the 'reviews' subgraph🛫 starting a session with the 'listings' subgraph🎶 composing supergraph with Federation v2.7.1🚀 your supergraph is running! head to http://localhost:4000 to query your supergraph👀 watching ./reviews/src/main/resources/schema/schema.graphqls for changes🎶 composing supergraph with Federation v2.7.1✅ successfully composed after adding the 'listings' subgraph👀 watching ./listings/src/main/resources/schema/schema.graphqls for changes
Awesome, looks like our supergraph is running at http://localhost:4000. Let's check it out!
Note: By default, rover dev runs the supergraph on port 4000. If you would prefer running it on a different port, you can add the additional flag --supergraph-port (or -p) and set it to a different value. Just make sure you're not using port 8080 or 8090; those ports are taken by our subgraphs!
In the browser, navigate to http://localhost:4000. We'll see Sandbox connected to port 4000, ready for us to query the local router spawned from rover dev.
In the Documentation panel, we can see familiar-looking fields from our listings subgraph. Test out this query for all reviews and a particular listing.
query GetAllReviewsAndListing($listingId: ID!) {allReviews {idtextrating}listing(id: $listingId) {title}}
And in the Variables panel:
{"listingId": "listing-1"}
Run the query and... data! 🎉 You can confirm the same data was returned in Studio as it is in Sandbox.
We're now free to make any changes we'd like to in listings or reviews, and see for ourselves how the router would handle them. We can even spin up a whole new subgraph and add it to our local supergraph.
This is your playground to explore in, to test new concepts, and dream up new features—all without impacting the production supergraph!
Practice
rover dev not do?Key takeaways
- The GraphOS supergraph development kit includes the following: Sandbox,
rover templateandrover dev. rover devlets us start a local router that can query across one or more subgraphs.- To use
rover dev, we need each subgraph's name, the URL where it's running, and (optionally) the path to the schema file. The easiest way to do this is with a supergraph config file.
Up next
We have everything we need to get started on our changes! Let's turn our focus back to that dream query that connects data between a listing and its reviews. For this, we'll need to dive an essential piece in the process of coordinating data across subgraphs: entities.
Share your questions and comments about this lesson
This course is currently in
You'll need a GitHub account to post below. Don't have one? Post in our Odyssey forum instead.