Workshop overview
Learn how graph implementations can be scaled across multiple teams and complex development environments. Using Apollo GraphOS Enterprise, we'll sample a big menu of the latest features, including: auth, subscriptions, coprocessors, safelisting operations and more!
What you'll learn
- Authentication and authorization
- Federated subscriptions
- Coprocessors
- Operation limits
- Persisted queries and safelisting
- Schema update proposals
- Caching
Who this workshop is for
API developers who have a basic understanding of GraphQL Federation.
What we're building

KBT Threads has been a successful brick and mortar store dating back to 1972 with a focus on outdoor sports and adventure clothing. While KBT Threads has a long successful history, we have been struggling against our more digital-native competitors. We have invested in several digital channels including web, iOS and Android apps, and store pick-up options.
To support these new channels in a performant and scalable way, we have been building GraphQL and a supergraph in our pre-production environments. We have spent time testing and validating this strategy and a decision has been made that this will be our go-forward API strategy.
Leadership is excited to move forward and wants to migrate this graph to the production environment and immediately begin routing traffic to it.
We, the engineering team, have pushed back on moving to production immediately. This graph is functional, but it is not production-ready. We have work to do to ensure that our graph is secure, performant, and scalable for all the use cases here at KBT Threads. It is now up to us to get this graph production-ready!
Getting started
Step 1: Create a Github repo
Open up the workshop repository. This is the graph we will be hardening for this workshop.
Select "Create a new repository", as shown below:
github.com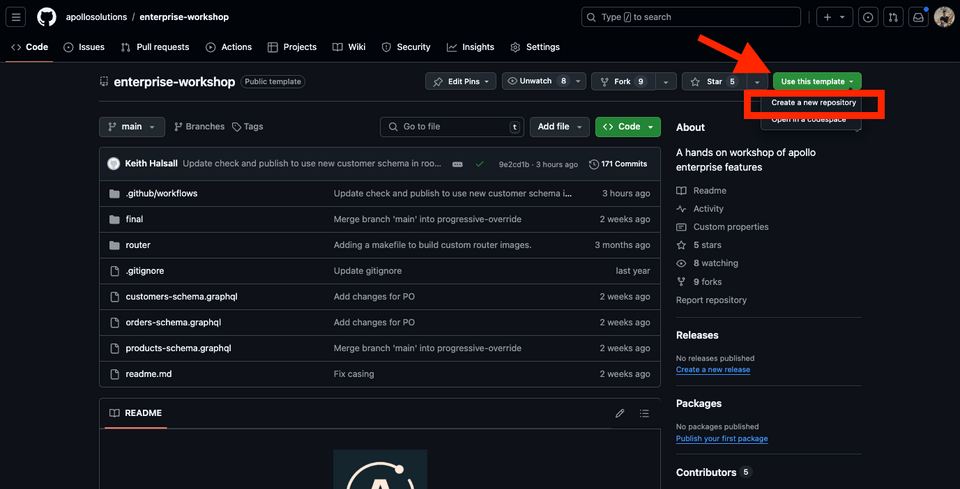
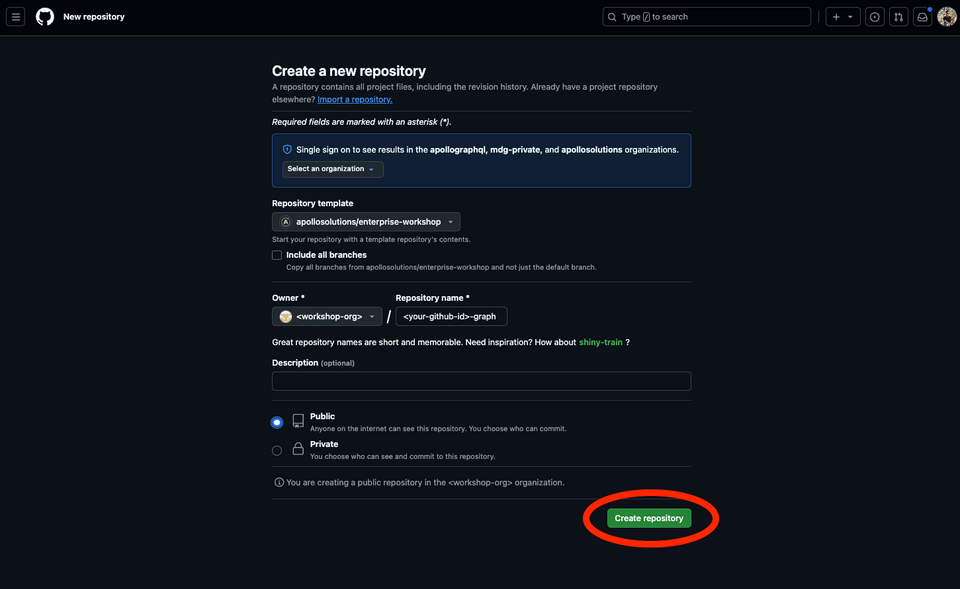
In the Create new repository setting, make sure these fields are set correctly:
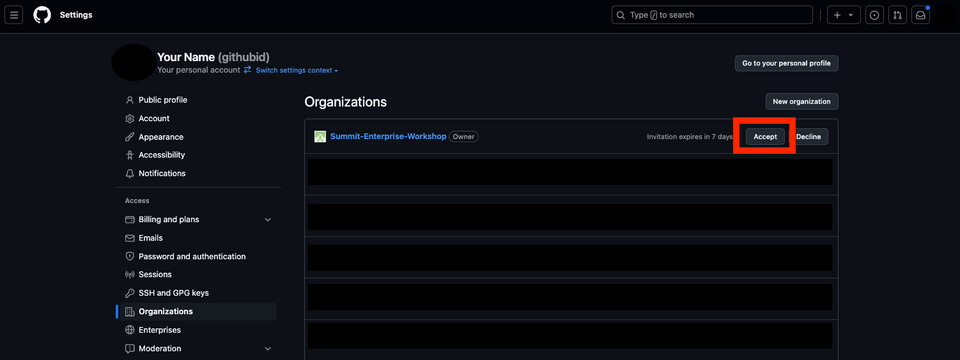
- Create the new repository in the
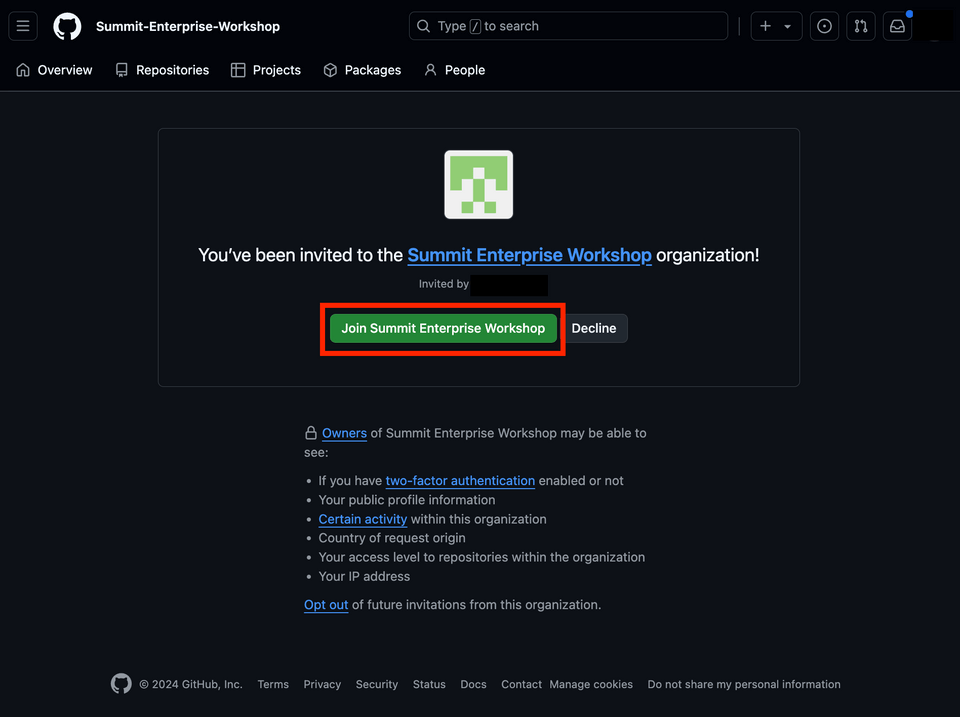
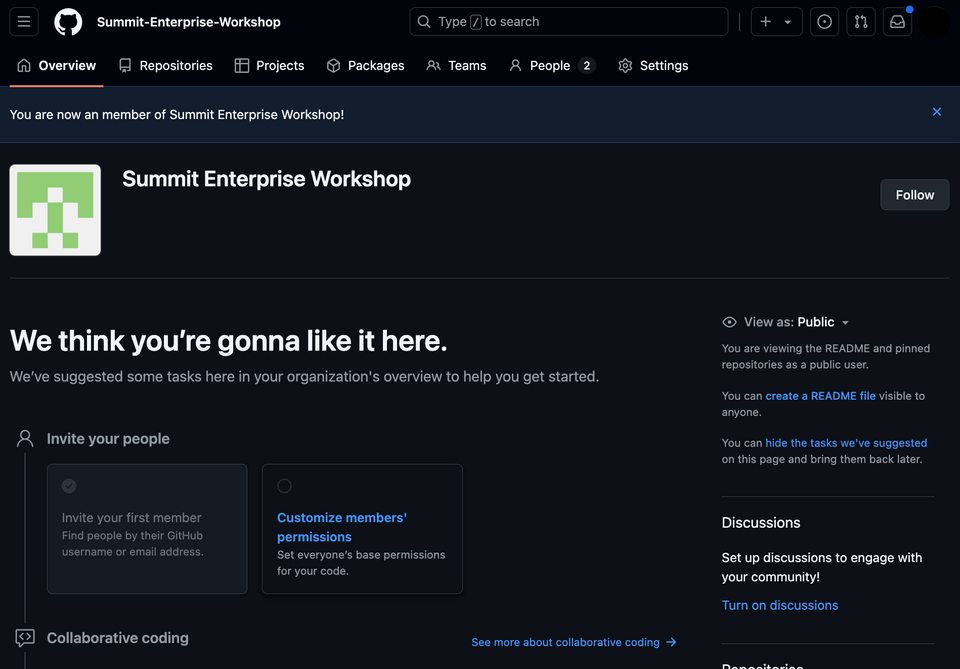
Summit-Enterprise-Workshop. If you don't see this organization, please ask for help. - The workshop is set to Public.
- Create the new repository in the
Name your repository with the following name format:
<githubid>-graph.Click "Create your repository".
Editing files in GitHub
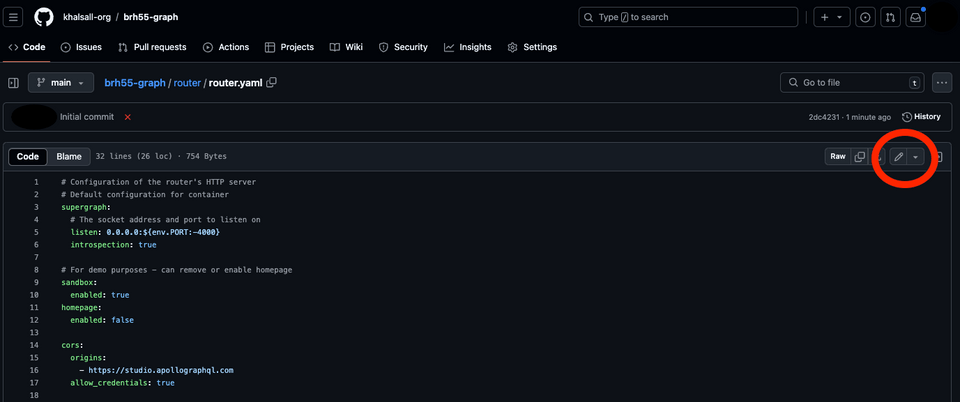
To keep things simple for this workshop, we recommend that you perform all edits directly in GitHub. To edit a file, navigate to that file and click the pencil icon in the top right corner.
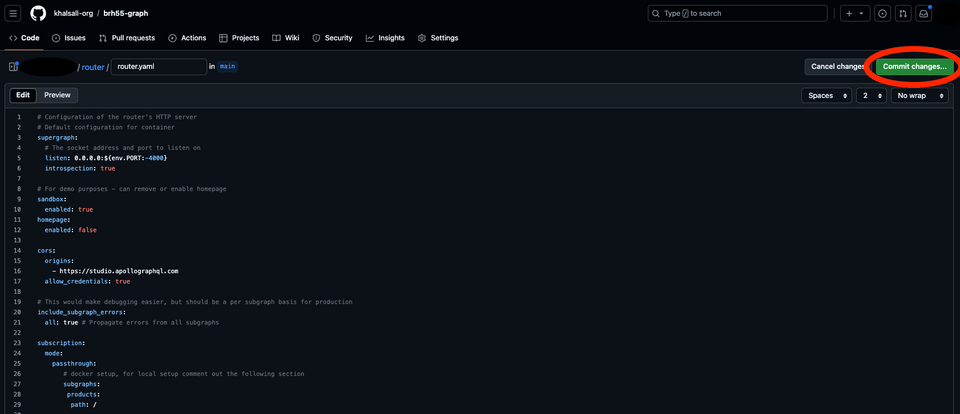
Once you're done editing a file, click the "Commit changes..." button.
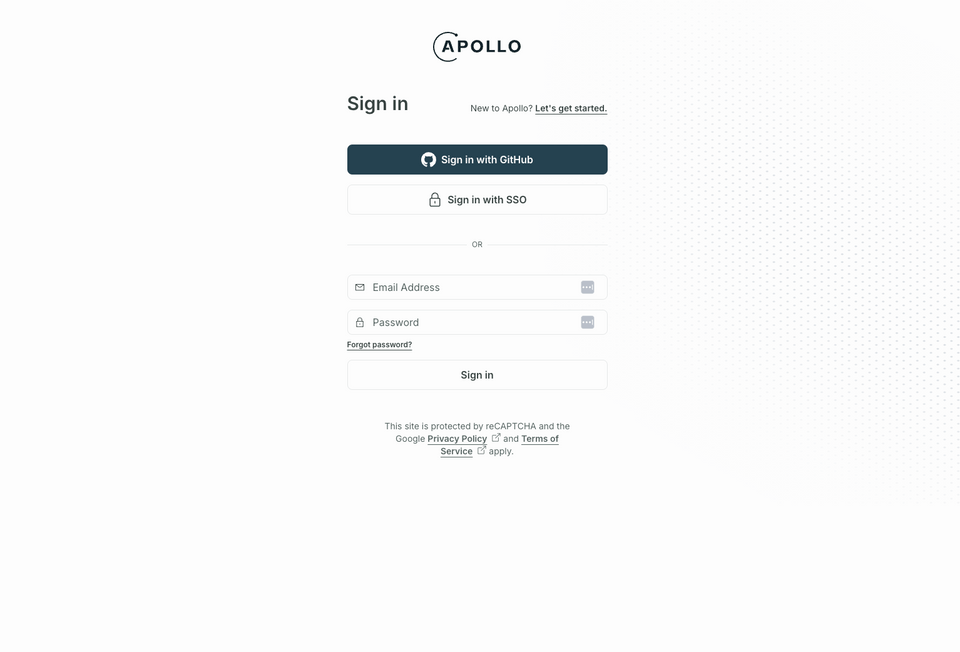
Step 2: Login to GraphOS
We're using GraphOS to build, manage and evolve our supergraph. GraphOS Studio is the web UI we'll be using to interact with our graph.
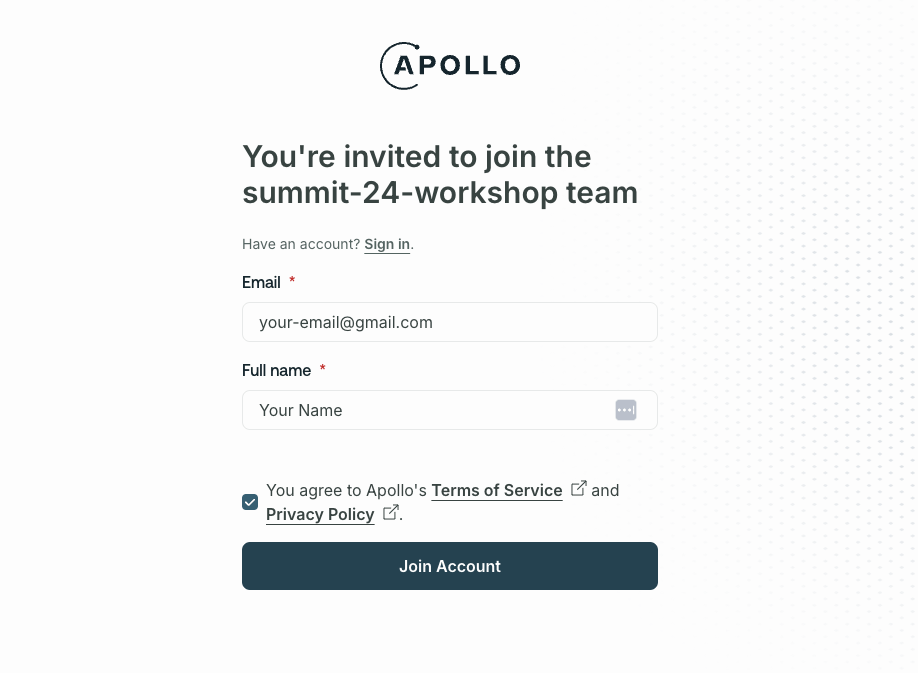
If you don't have an Apollo account yet, you'll be prompted to create one.
If you are an existing Apollo customer, you will need to join with an email address not associated with your company's SSO login. Open the link in an incognito window and create a separate account using your personal email.
Step 3: Query your graph
If the previous 2 steps were successful, you should see a graph in the Studio organization named with your GitHub ID.
Find your graph and star ⭐️ the
currentvariant so you can find it easily next time.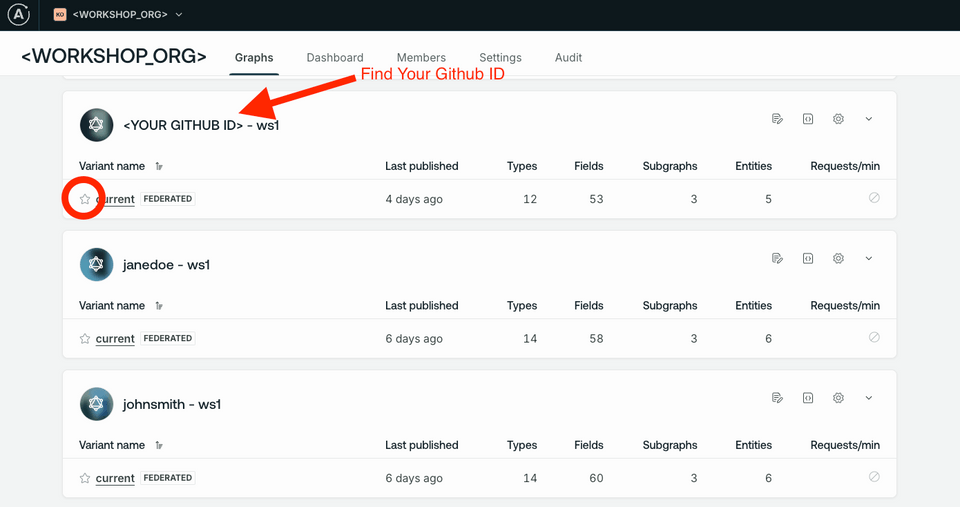
Click on your graph.
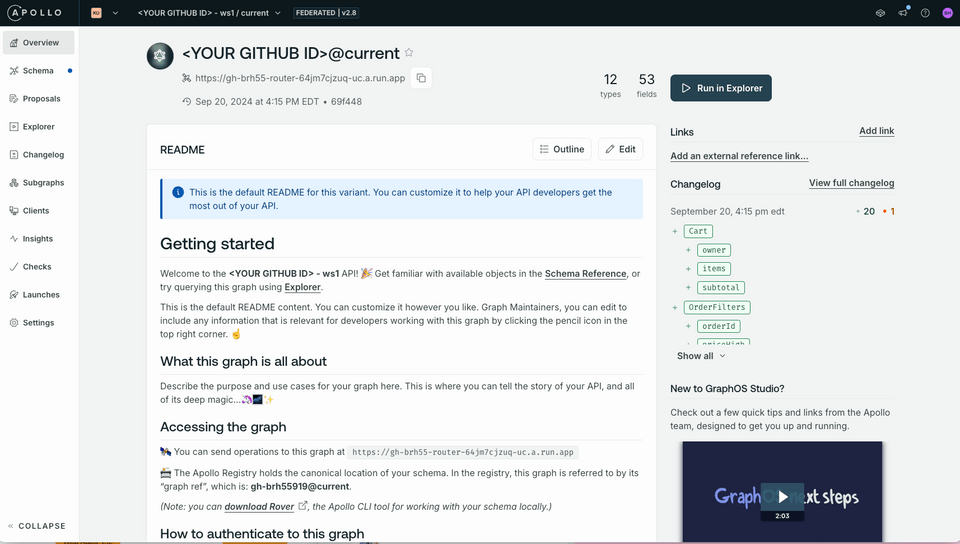
Navigate to the Explorer in the main navigation.
Run the default
ExampleQueryoperation:Example Queryquery ExampleQuery {users {id}}
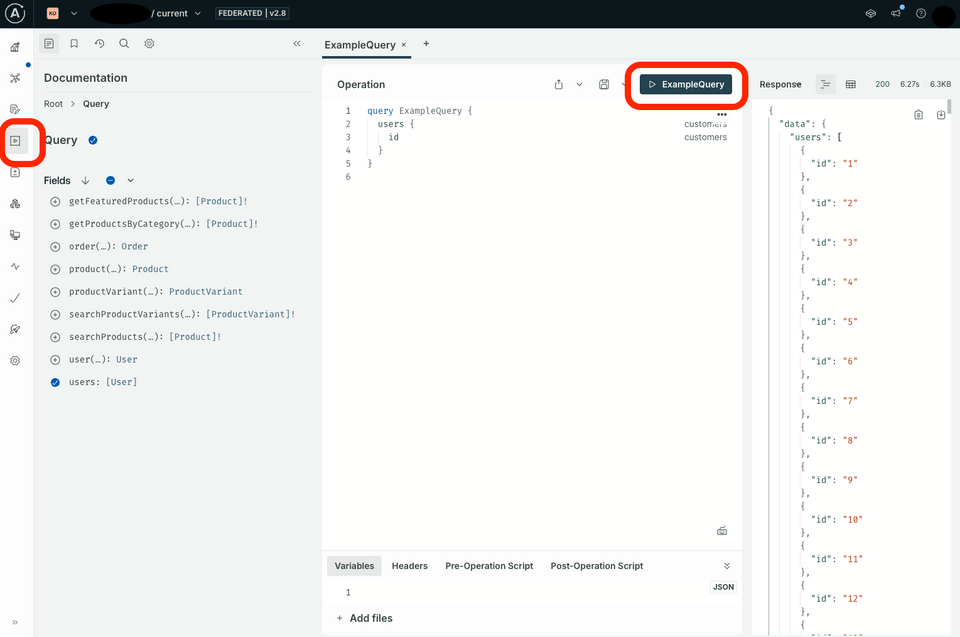
If the query returns data, we are now ready to begin! 🙌 🎉
Running workshop modules
Every module in this workshop has been designed to run independently, which means you can jump to any module you want to work on. To set up a module before you begin, you can execute a GitHub workflow to ensure it is configured properly.
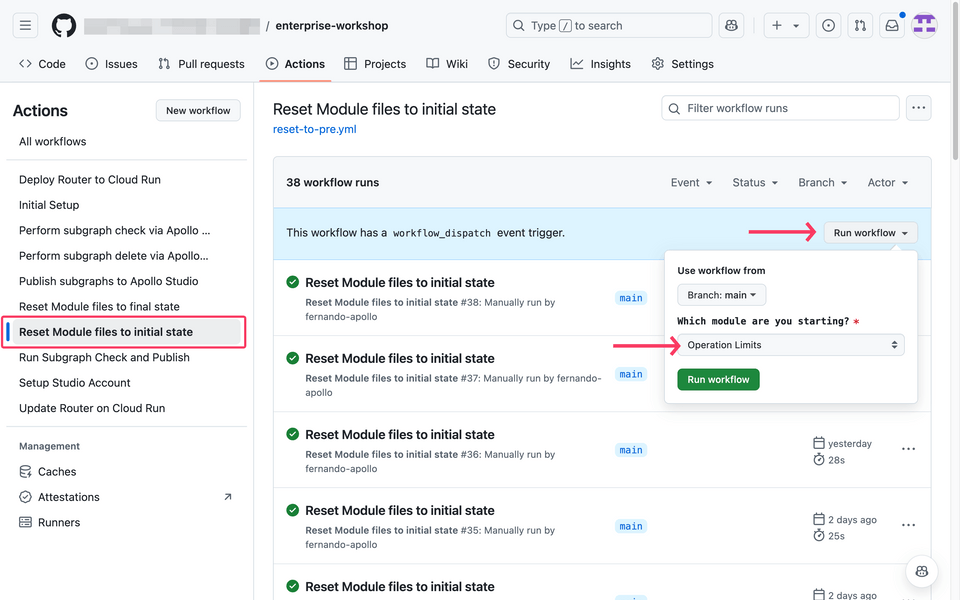
You will find this action in the Actions tab on your GitHub repository page. The action is named "Reset Module files to initial state". To execute it,
- Click on "Reset Module files to initial state" on the left-hand side and then click the Run workflow button. You will then be presented with a list of options to choose from.
- Select the module you want to work on from the dropdown list, then click the Run workflow button. You might need to refresh the page to see the workflow progress.
Setting the module to its final state
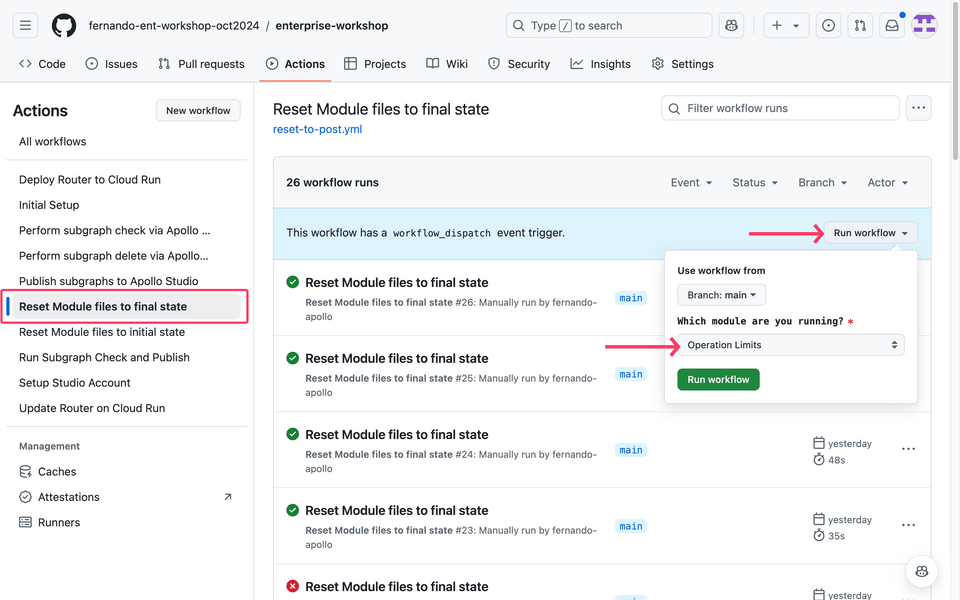
If for any reason the module you are working on does not work as expected, you can run another workflow called Reset Module files to final state. The workflow works the same as the above: it will allow you to choose the module you are currently running, and then proceed to to copy all required files. In this way you can ensure you will have an end state to work from.
Up next
In the next section, we will be looking at how operation limits can help limit the type and shape of operations will be allowed on our graph.
