Overview
Apollo Connectors transform the way we connect to REST APIs, simplifying API orchestration in a declarative, configuration-first approach.
All of the work happens in the schema. First, we define the types and fields that make up our API. Then, we configure our request to a data source and transform the response to a shape that fits with our schema.
In this lesson, we will:
- Learn about two GraphQL directives:
@sourceand@connect.
The @source directive
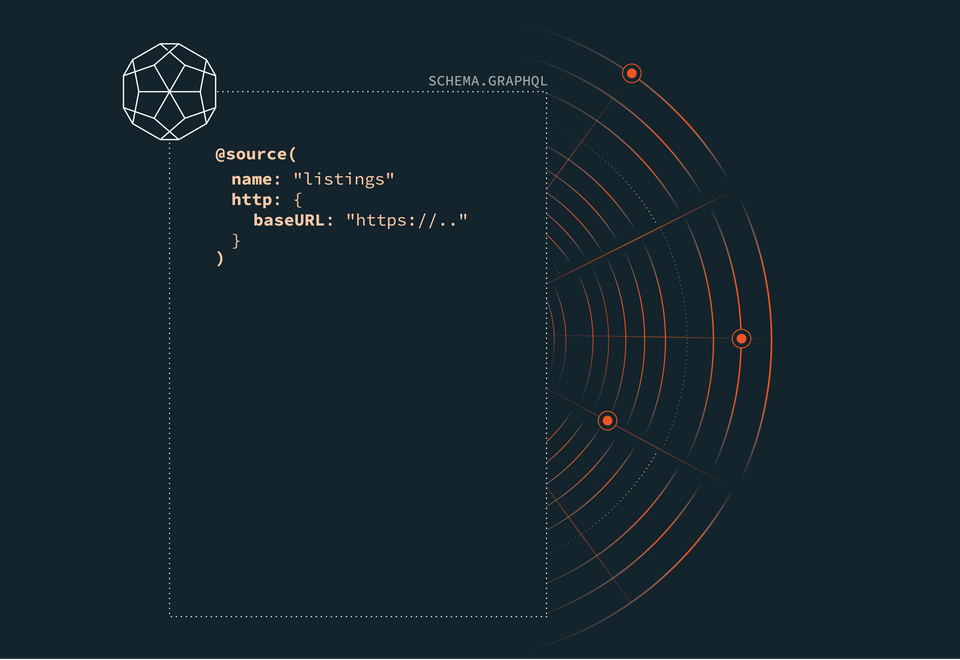
With @source, we define the core information about the data source: its name and details, such as the base URL and any HTTP headers we want to include with the request. We could have multiple data sources in one schema, so defining multiple @source instances helps us easily reuse and refer to which one we need.
@source(name: "products" # A unique identifier for the data source.http: { # An object that defines the baseURL string and an array of headers for the data sourcebaseURL: "https://products.example.com",headers: [{ name: "Authorization", from: "Authorization" }] })

The @connect directive
Next we have the heart of connectors: the @connect directive.
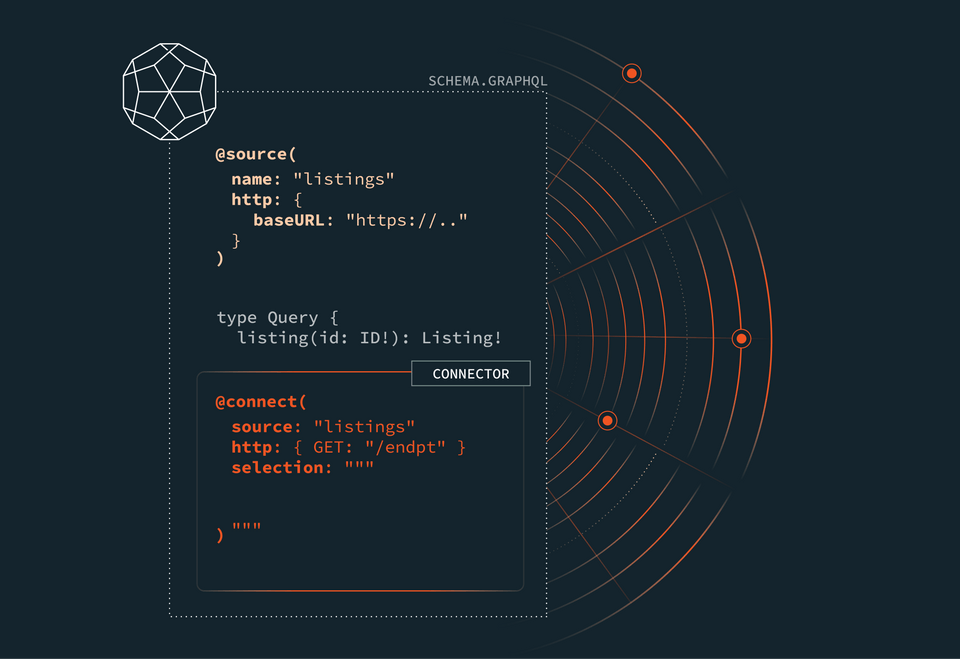
The @connect directive attaches to a root or object field in the schema. Here, we define the instructions for our request (to get the data) and the response (to map that data to the schema).
The request
To configure the request, we provide @connect with:
- A
sourceto connect to - The HTTP method like
GETorPOSTwith the specific path to the endpoint - Any additional headers
- An optional body payload
@connect(source: "products"http: {GET: "/products",headers: [{ name: "Authorization", from: "Authorization" },{ name: "X-Api-Key", value: "ODYSSEY"}]}selection: """idtitledescription""")

The response
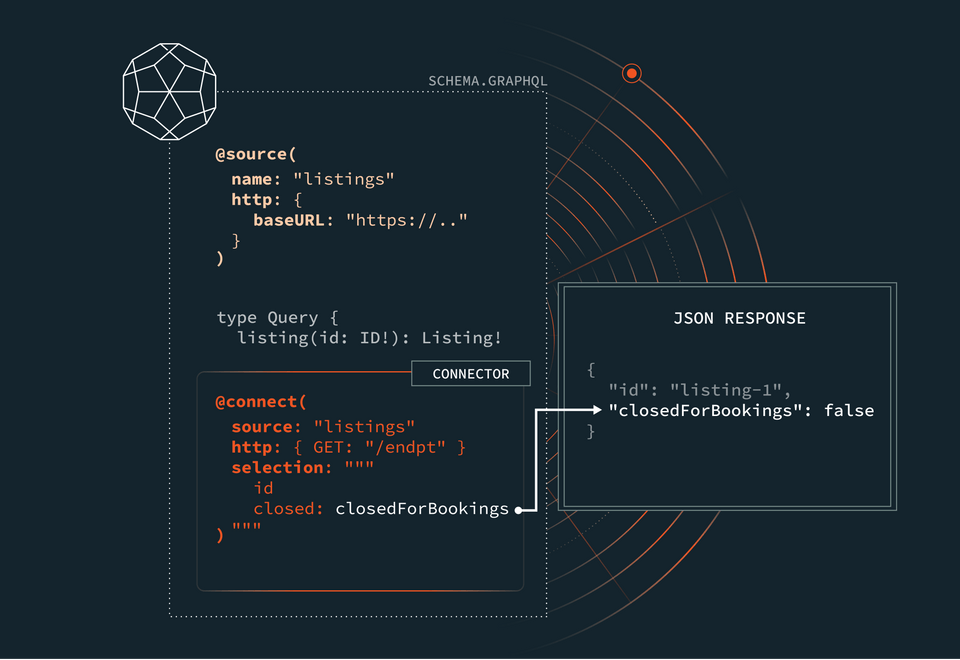
To configure the response, the connector needs a selection mapping: how the JSON response maps to the types and fields in our schema.
Sometimes the mapping is simple, one-to-one, where the property names in the response match our schema types and fields exactly.
Other times, we may want to rename properties, dig in a level or two deeper to access a particular value, or work with multiple nested types and fields. All of this happens in the selection property of @connect, explicitly defined and available for everyone on our team to see.
@connect(source: "products"http: {GET: "/products",headers: [{ name: "Authorization", from: "Authorization" }]}selection: """id: upctitledescription""")

And that's it for connectors in the schema, just directives and configuration.
But where does this schema live, and how do clients actually send their requests to our API? We're missing one piece of the puzzle: the router.
API orchestration with the router
The router acts as the single access point to our API and coordinates the orchestration for us. It receives requests from a client, then follows the instructions in our schema to connect to the relevant data sources directly.
Now if you're using GraphQL Federation, you might be thinking: "This router thing sounds familiar". And you'd be right! This is the same router we can find in a federated architecture, that routes parts of a GraphQL operation to the subgraph responsible for it. We can mix and match subgraphs and connectors.
All we need to do is give the router our schema, and it takes care of the rest!

Practice
@source directive?@connect directive do?Key takeaways
- The
@sourcedirective sets up data sources, including their name, base URL, and any necessary HTTP headers. - The
@connectdirective attaches to root or object fields, defining instructions for our request and responses to a REST API endpoint. - The router serves as the single entry point to the API, taking care of the orchestration for us.
Up next
The Rover CLI will help with the router setup later on, but we need to get that schema ready in the next lesson.
Share your questions and comments about this lesson
Your feedback helps us improve! If you're stuck or confused, let us know and we'll help you out. All comments are public and must follow the Apollo Code of Conduct. Note that comments that have been resolved or addressed may be removed.
You'll need a GitHub account to post below. Don't have one? Post in our Odyssey forum instead.